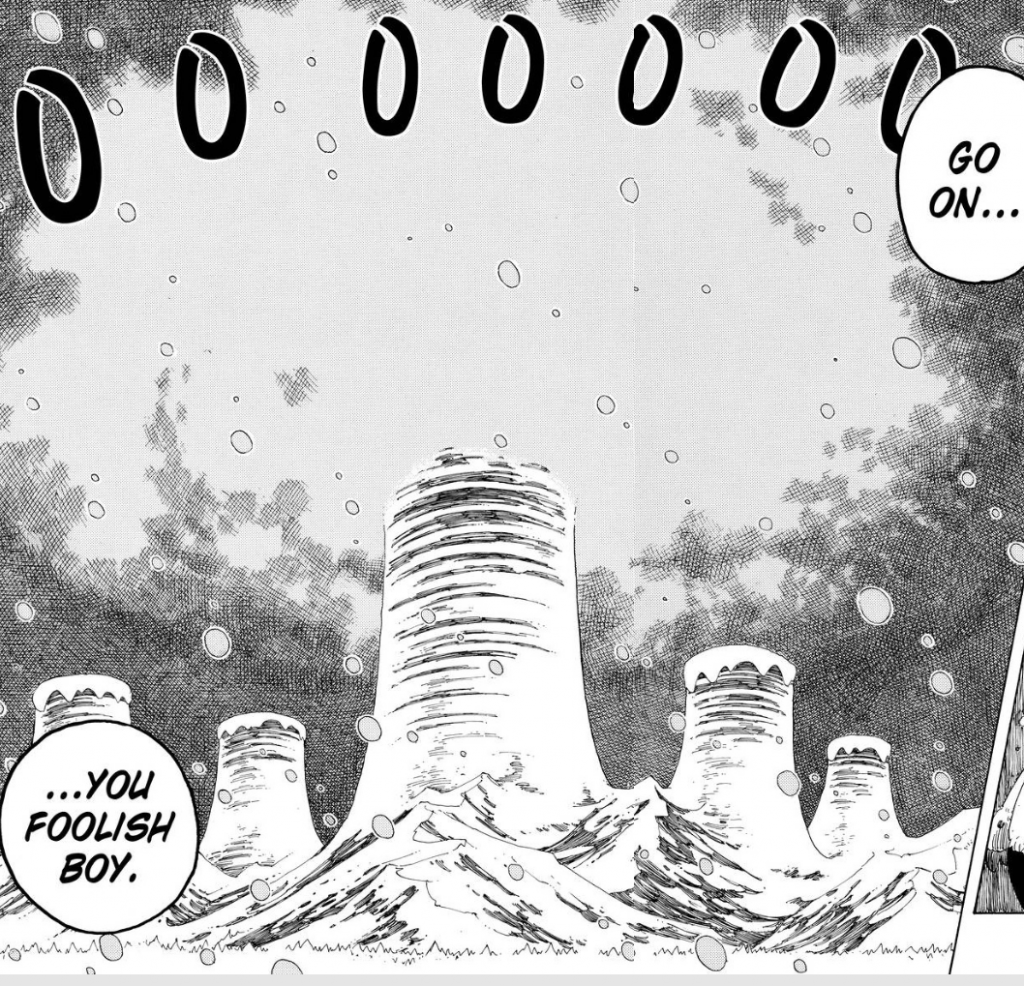
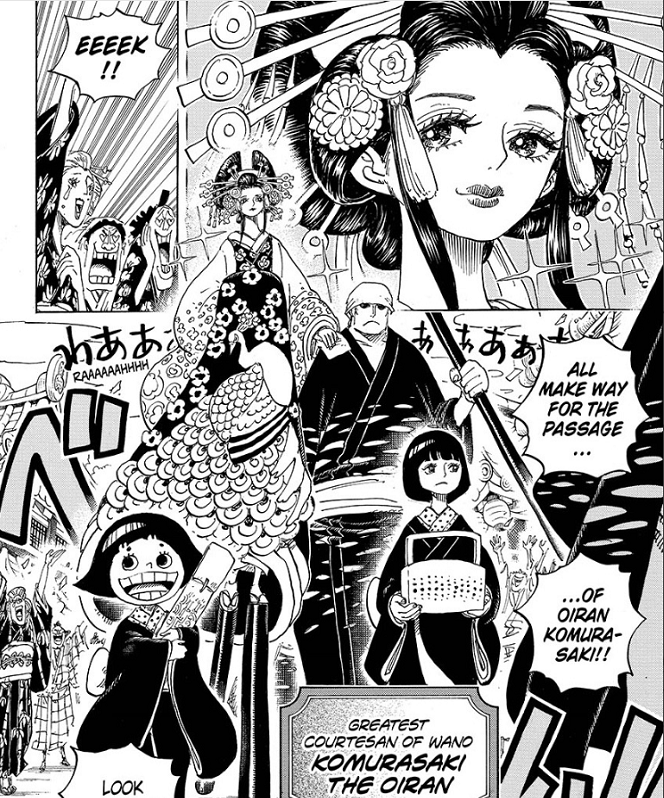
The Fenghuang is often depicted as this beautiful multi-colored bird, bright and blinding. Think Ho-Oh from Pokemon, which is also based off of Fenghuang. When we are introduced to Hiyori she is just that. Literally wearing a kimono adorned with a beautiful bird and she’s shining, the townspeople state they cannot look at her without going blind.
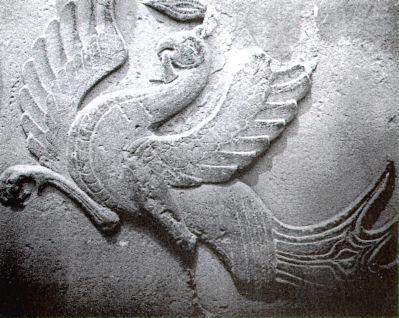
I don’t want to get too hung up on the specific model of the Tori Tori fruit – as there are a couple different options that fit the bill, like the Suzaku (“Vermillion Bird”) that is in the form of a Pheasant and is often mistaken for the Fenghuang as well.
I think this fruit is also a “Guardian Deity” of Wano, just like Yamato’s mythical Inu Inu fruit. This would draw a parallel to Alabasta as Vivi had two retainers that each had an Inu Inu and Tori Tori model.
I believe that Wano will also have a similar “Guardian Deity” set-up. Momo supported by Yamato and her Inu Inu no Mi as well as Hiyori with her Tori Tori no Mi. The three “divine siblings” of Japanese folklore.

Why I draw this connection to Alabasta specifically is actually because of a much more robust theory of mine that the journey and defeat of Kaido to liberate Wano is supposed to mirror that of Crocodile and Alabasta (actually the theory extends and states that the sagas of the whole Paradise portion of the Grand Line are a blueprint for how the Emperors will go down – but for the sake of this post we will only explore Wano and the Baroque Works saga).
Our first saga of Paradise was the Baroque Works saga. Our current conflict and the quest to defeat our first Emperor Kaido is meant to mirror this journey, let’s reflect:
- Both journeys begin with a rash decision by Luffy choosing to go to a risky place (despite warning) as the first stop of the journey (Whiskey Peak/Punk Hazard).
- On this first island they ally with royalty accompanied by their retainer who each have to conceal their identities before said royalty joins the Straw Hats crew on their journey to return to their kingdoms to stop the Warlord/Emperor who has taken over.
- They then travel with the Strawhat crew to two islands (Little Garden/Drum Island and Dressrosa/Zou) before reaching their destination (Alabasta/Wano).
- In both instances the power of the Mane Mane no Mi is used to impersonate the ruler in order to usurp them. Mr. 2 uses it to turn into Cobra and erode the people’s trust and the previous user, Kurozumi Higurashi, uses it to impersonate Kozuki Sukiyaki and install Orochi.
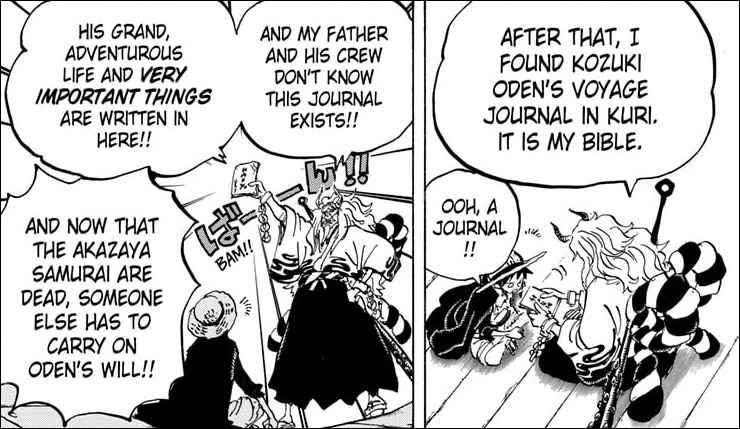
- A close confidant of each Warlord/Emperor has a vested interest in Luffy and the “D.” in particular (Robin/Yamato). They also withhold important information about the world’s history that their respective Warlord/Emperor is seeking (The Poneglyphs contents/Oden’s Journal).
When Luffy arrives to help the country his battles with the respective Warlord and Emperor also have some glaring parallels:
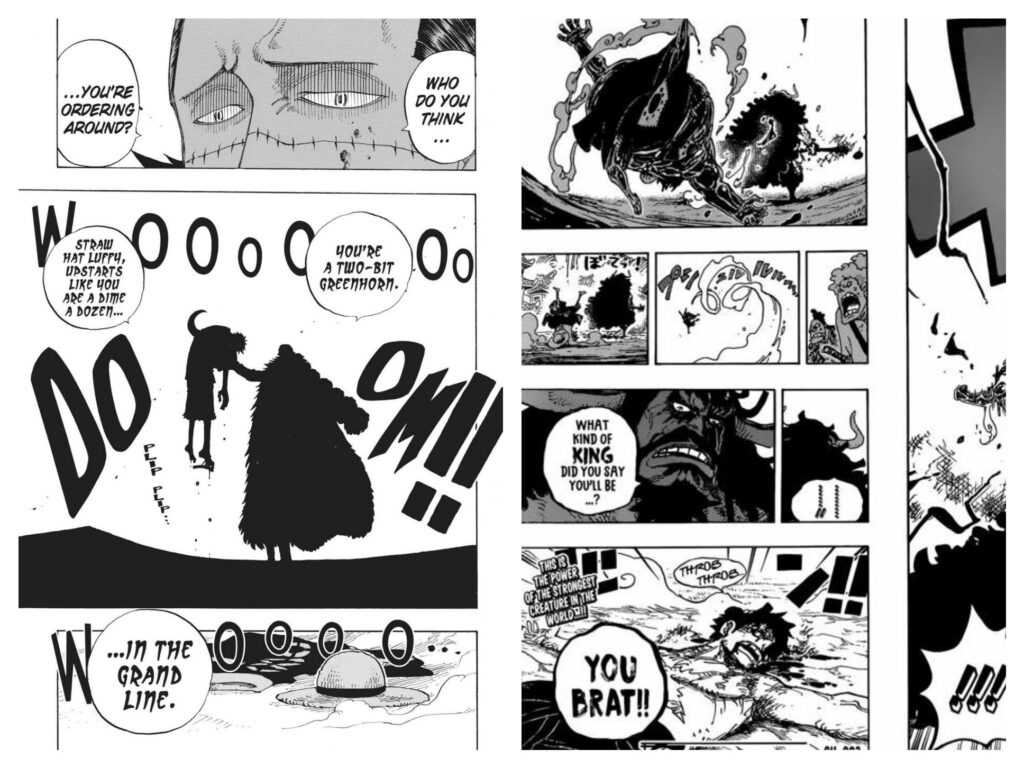
- Round 1 – Luffy is overconfident and just gets absolutely clapped by the emperor/warlord he is challenging. The battle is quick and decisive as Luffy cannot even manage to harm them.
- Round 2 – Luffy learns how to hurt the opposition (Water to combat Crocodile’s sand Logia and Advanced Conqueror’s Haki to deal damage to Kaido). Despite learning how to hurt them it is not enough and he loses again. Crocodile drains Luffy of all his water – dropping him from high above into a pit of sand below. Luffy drains himself of all Haki while fighting Kaido – falling from high above into the sea below.
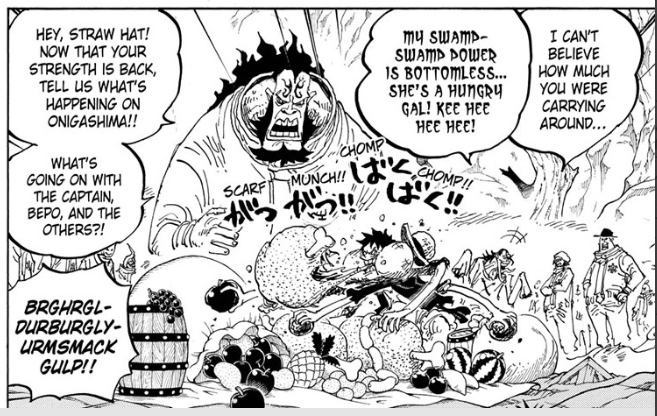
- Post-Round 2 – Luffy needs to recover in a distinctly Luffy manner (takes a nap before descending into the Mausoleum for the final round vs Crocodile and eats a feast of food from Caribou before ascending to Onigashima for round 3 vs Kaido).
In addition we’re given these fun little callbacks to the Alabasta arc throughout the raid as well:
- While fighting Crocodile Luffy exclaims himself as the “Eighth Warlord” he is currently challenging Kaido after being dubbed the “Fifth Emperor”.
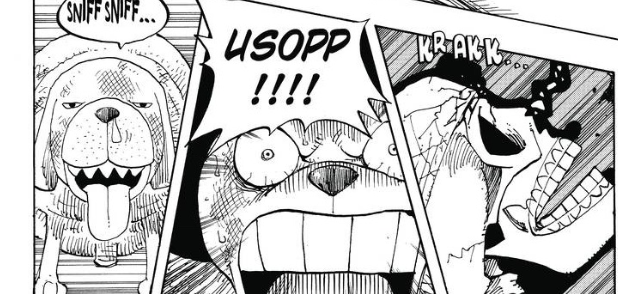
- Usopp gets his bell rung by Ulti in this arc – giving us this X-ray image of his skull being cracked, this is a callback to when Mr. 4 did the same thing to him in Alabasta.

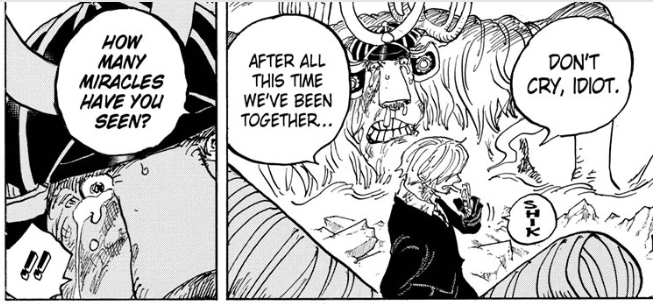
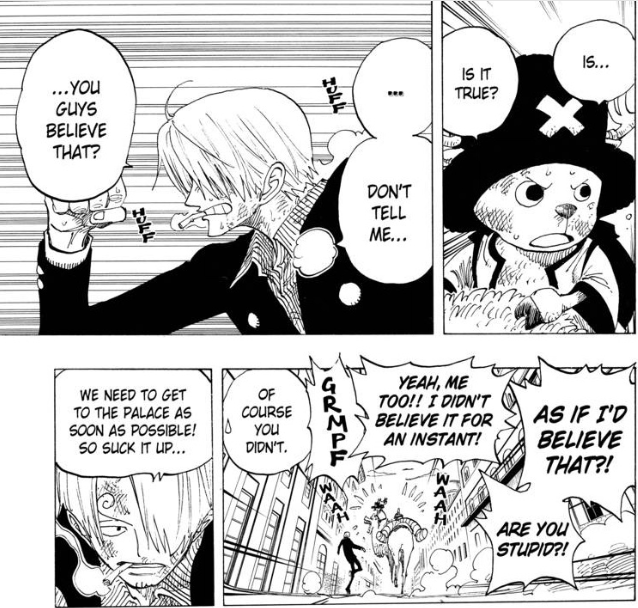
- Luffy’s “defeat” at the hands of Kaido is broadcasted throughout the island in an attempt to lower morale, this notably affects Chopper to which Sanji reminds him of how many times Luffy has pulled through in the past. This again is a callback to when Chopper got demoralized when hearing from Miss Merry Christmas that Luffy lost in Alabasta, only for Sanji to tell him to cut out that crap.
As a bonus here are a few other fun callbacks to each island in the Baroque Works saga that this raid has given us:
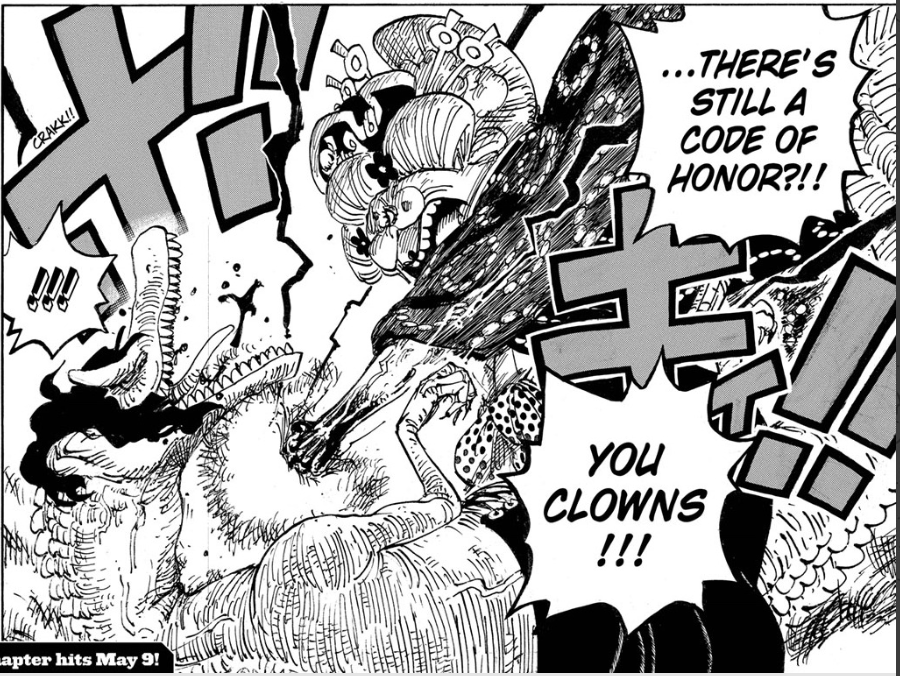
- Big Mom turned against an ally over the “code” of harming those who fed her. Luffy does the same to Zoro in Whiskey Peak. In both cases their anger is misplaced.
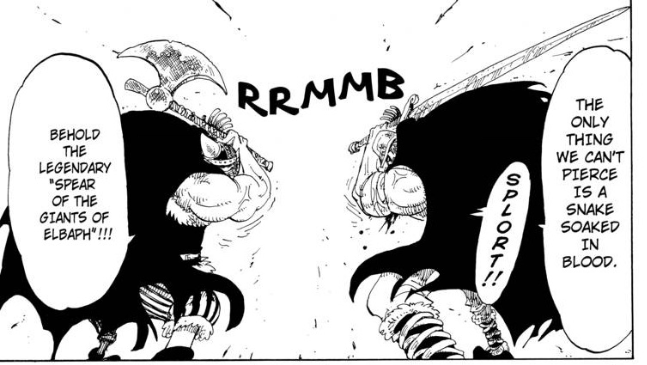
- Big Mom and Kaido teaming up to launch a tandem attack in the same manner as Dory and Broggy in Little Garden.

- Chopper using a cannon to administer the ice oni cure – made in the same shape that he sees when leaving Drum Island when Kureha similarly launched Hiriluk’s blossoms out of a cannon.